
Unboxing your Axium device
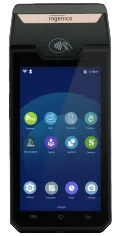
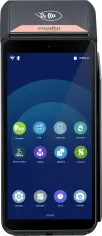
The Ingenico Axium is NMI's Android-based SmartPOS platform — a family of handheld and countertop payment terminals running a security-hardened Android, designed to run the NMI Payment Device SDK and your own applications directly on the device.
Current NMI Partners can order test and live Axium devices through your usual NMI device-ordering channel. If you don't yet have access, contact your NMI account manager.
Supported Devices
The Payment Device SDK for Android supports the following Axium SmartPOS devices:
| Device | Form factor | Charging | Notes |
|---|---|---|---|
| Axium RX5000 | Countertop | Mains-powered (split cable) | HDMI display output |
| Axium EX6000 | Handheld | USB-C | |
| Axium EX8000 | Handheld | USB-C | |
| Axium DX4000 | Handheld | USB-C (under battery cover) | |
| Axium DX8000 | Handheld | USB-C |
Your Axium device ships with all firmware and applications needed to accept payments pre-installed. See Device setup for Wi-Fi, Bluetooth, and software configuration.
Axium RX5000
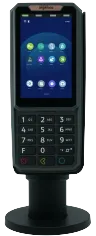
A countertop device with an HDMI display output and a split power cable.
Setting Up the Device
- Connect the HDMI cable to the port on the back of the device.
- Use the split cable:
- Plug the power pin into a power socket.
- The USB connector is not required for normal use — connections to the host application are made via Bluetooth.
Restarting the Device
- Press and hold the Green "OK" button and the dot ( . ) button at the same time.
- Two tiles appear at the top of the screen:
- Services (not normally needed)
- Restart — select this option.
Axium EX6000 and EX8000
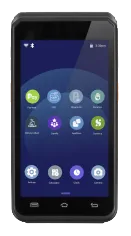
Handheld devices with a USB-C charging port on the left side.
Setting Up the Device
Press the orange power button on the right side of the device to turn it on.
Charging the Device
- Locate the USB-C port on the left side of the device.
- Connect the charging cable until the device is fully charged.
Restarting the Device
- Press and hold the power button for a few seconds.
- A menu appears with the following options:
- Power off
- Restart — select this option.
- Screenshot
- Services (not normally needed)
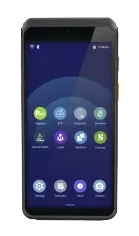
Axium DX4000 and DX8000
Handheld devices. Charging port location differs by model — see below.
Setting Up the Device
Press the power button on the left side of the device to turn it on.
Restarting the Device
- Press and hold the power button for a few seconds.
- A menu appears with the following options:
- Power off
- Restart — select this option.
- Screenshot
- Services (not normally needed)
Charging the DX4000
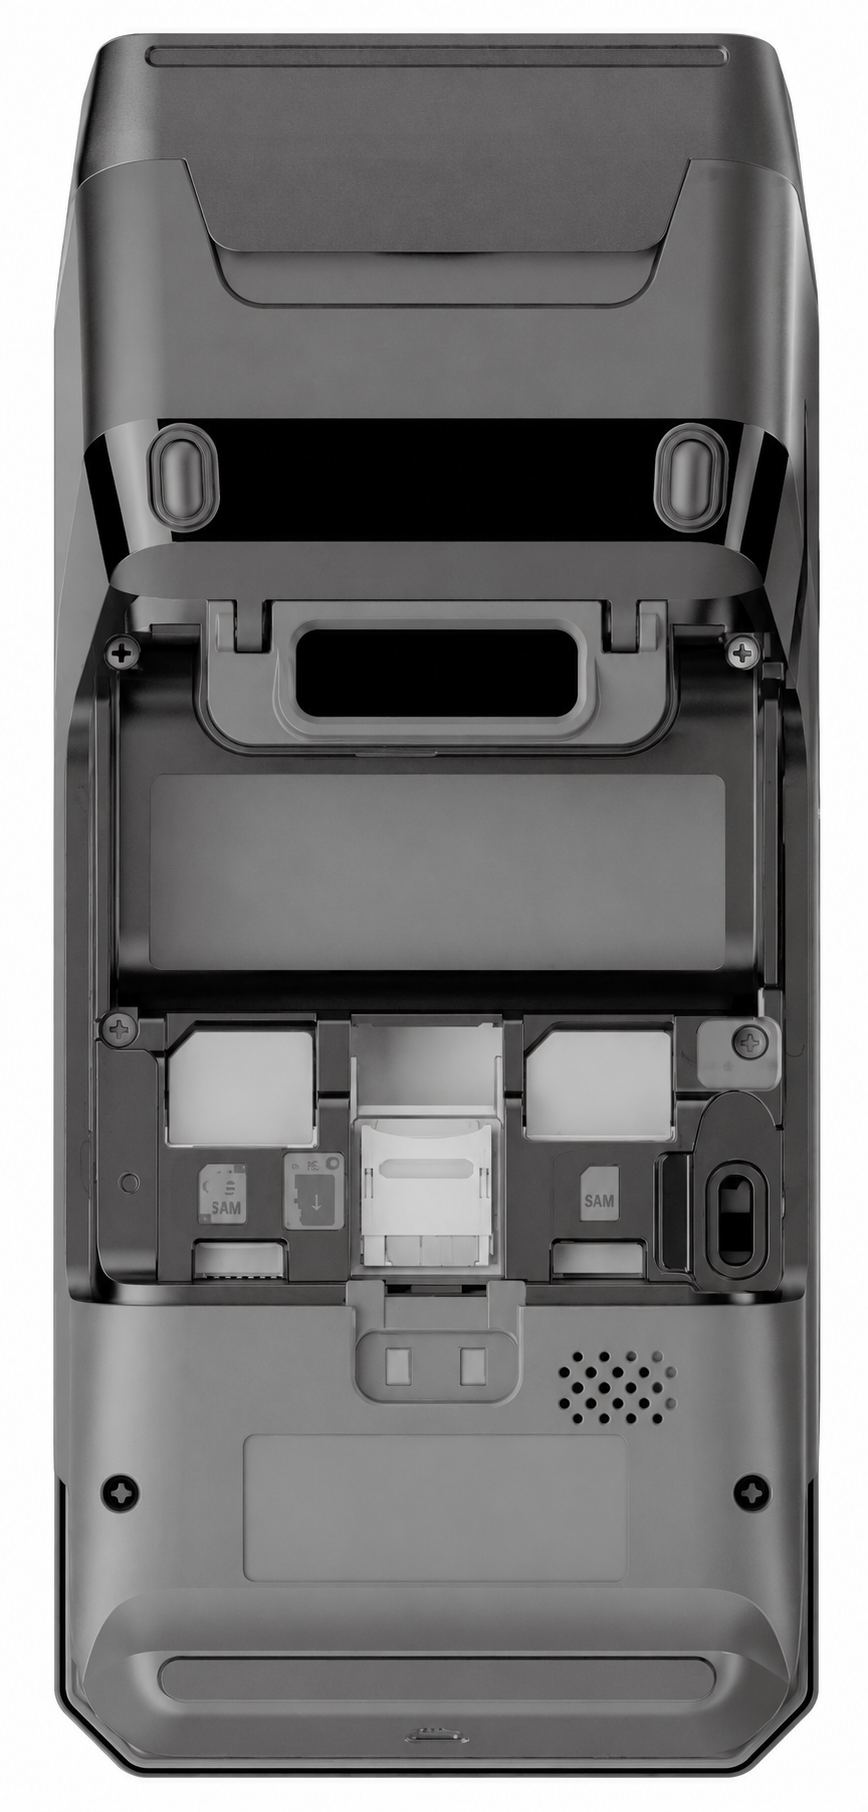
The DX4000's USB-C charging port sits under the back cover alongside the battery.
- Remove the back cover:
- Push the tab on the back of the device upwards.
- Lift off the panel to reveal the battery and USB-C charging port.
- Connect the charging cable:
- Plug the cable into the USB-C port located beneath the battery.
- Replace the back cover:
- Align the cable with the groove on the left side of the device.
- Snap the cover back into place with the cable routed through the groove.
Charging the DX8000
- Locate the USB-C port on the left side of the device.
- Connect the charging cable until the device is fully charged.
An optional charging base is available for the DX8000 — order it from the standard NMI device-ordering channel.