
Full Transaction Lifecycle Example
Step 1: Gather The Digital Wallet Data with Collect.js
This example code snippet prepares a request that indicates the customer will be charged $10 per month starting on October 31, 2025:
<script
        src="https://secure.nmi.com/token/Collect.js"
        data-tokenization-key="000000-000000-000000-000000"
        data-variant="inline"
        data-field-apple-pay-selector=".apple-pay-button"
        data-field-apple-pay-line-items='[{"label":"Monthly Subscription","amount":"10.00"}]'
        data-field-apple-pay-total-label="Our Fine Products"
        data-field-apple-pay-type="buy"
        data-country="US"
        data-currency="USD"
        data-price="0.00"
        data-field-apple-pay-is-recurring-transaction="true"
        data-field-apple-pay-recurring-payment-description="Recurring payment description"
        data-field-apple-pay-recurring-billing-agreement="Recurring billing agreement"
        data-field-apple-pay-recurring-management-url="https://mymanagementurl.com"
        data-field-apple-pay-recurring-token-notification-url="https://mynotificationurl.com"
        data-field-apple-pay-recurring-label="Recurring"
        data-field-apple-pay-recurring-amount='10.00'
        data-field-apple-pay-recurring-payment-timing="recurring"
        data-field-apple-pay-recurring-payment-start-date='2025-10-31T00:00:00Z'
        data-field-apple-pay-recurring-payment-interval-unit='month'
        data-field-apple-pay-recurring-payment-interval-count='1'
        data-field-apple-pay-recurring-payment-end-date=''
        ></script>
<form action="/myProcessingScript" method="POST">
<div id="apple-pay-button"></div>
</form>
In the customer's browser, it will show a "Pay with Apple Pay" button like this:
A screenshot of Safari showing a page with a single black "Pay with Apple Pay" button
and when they press the button, they'll see:
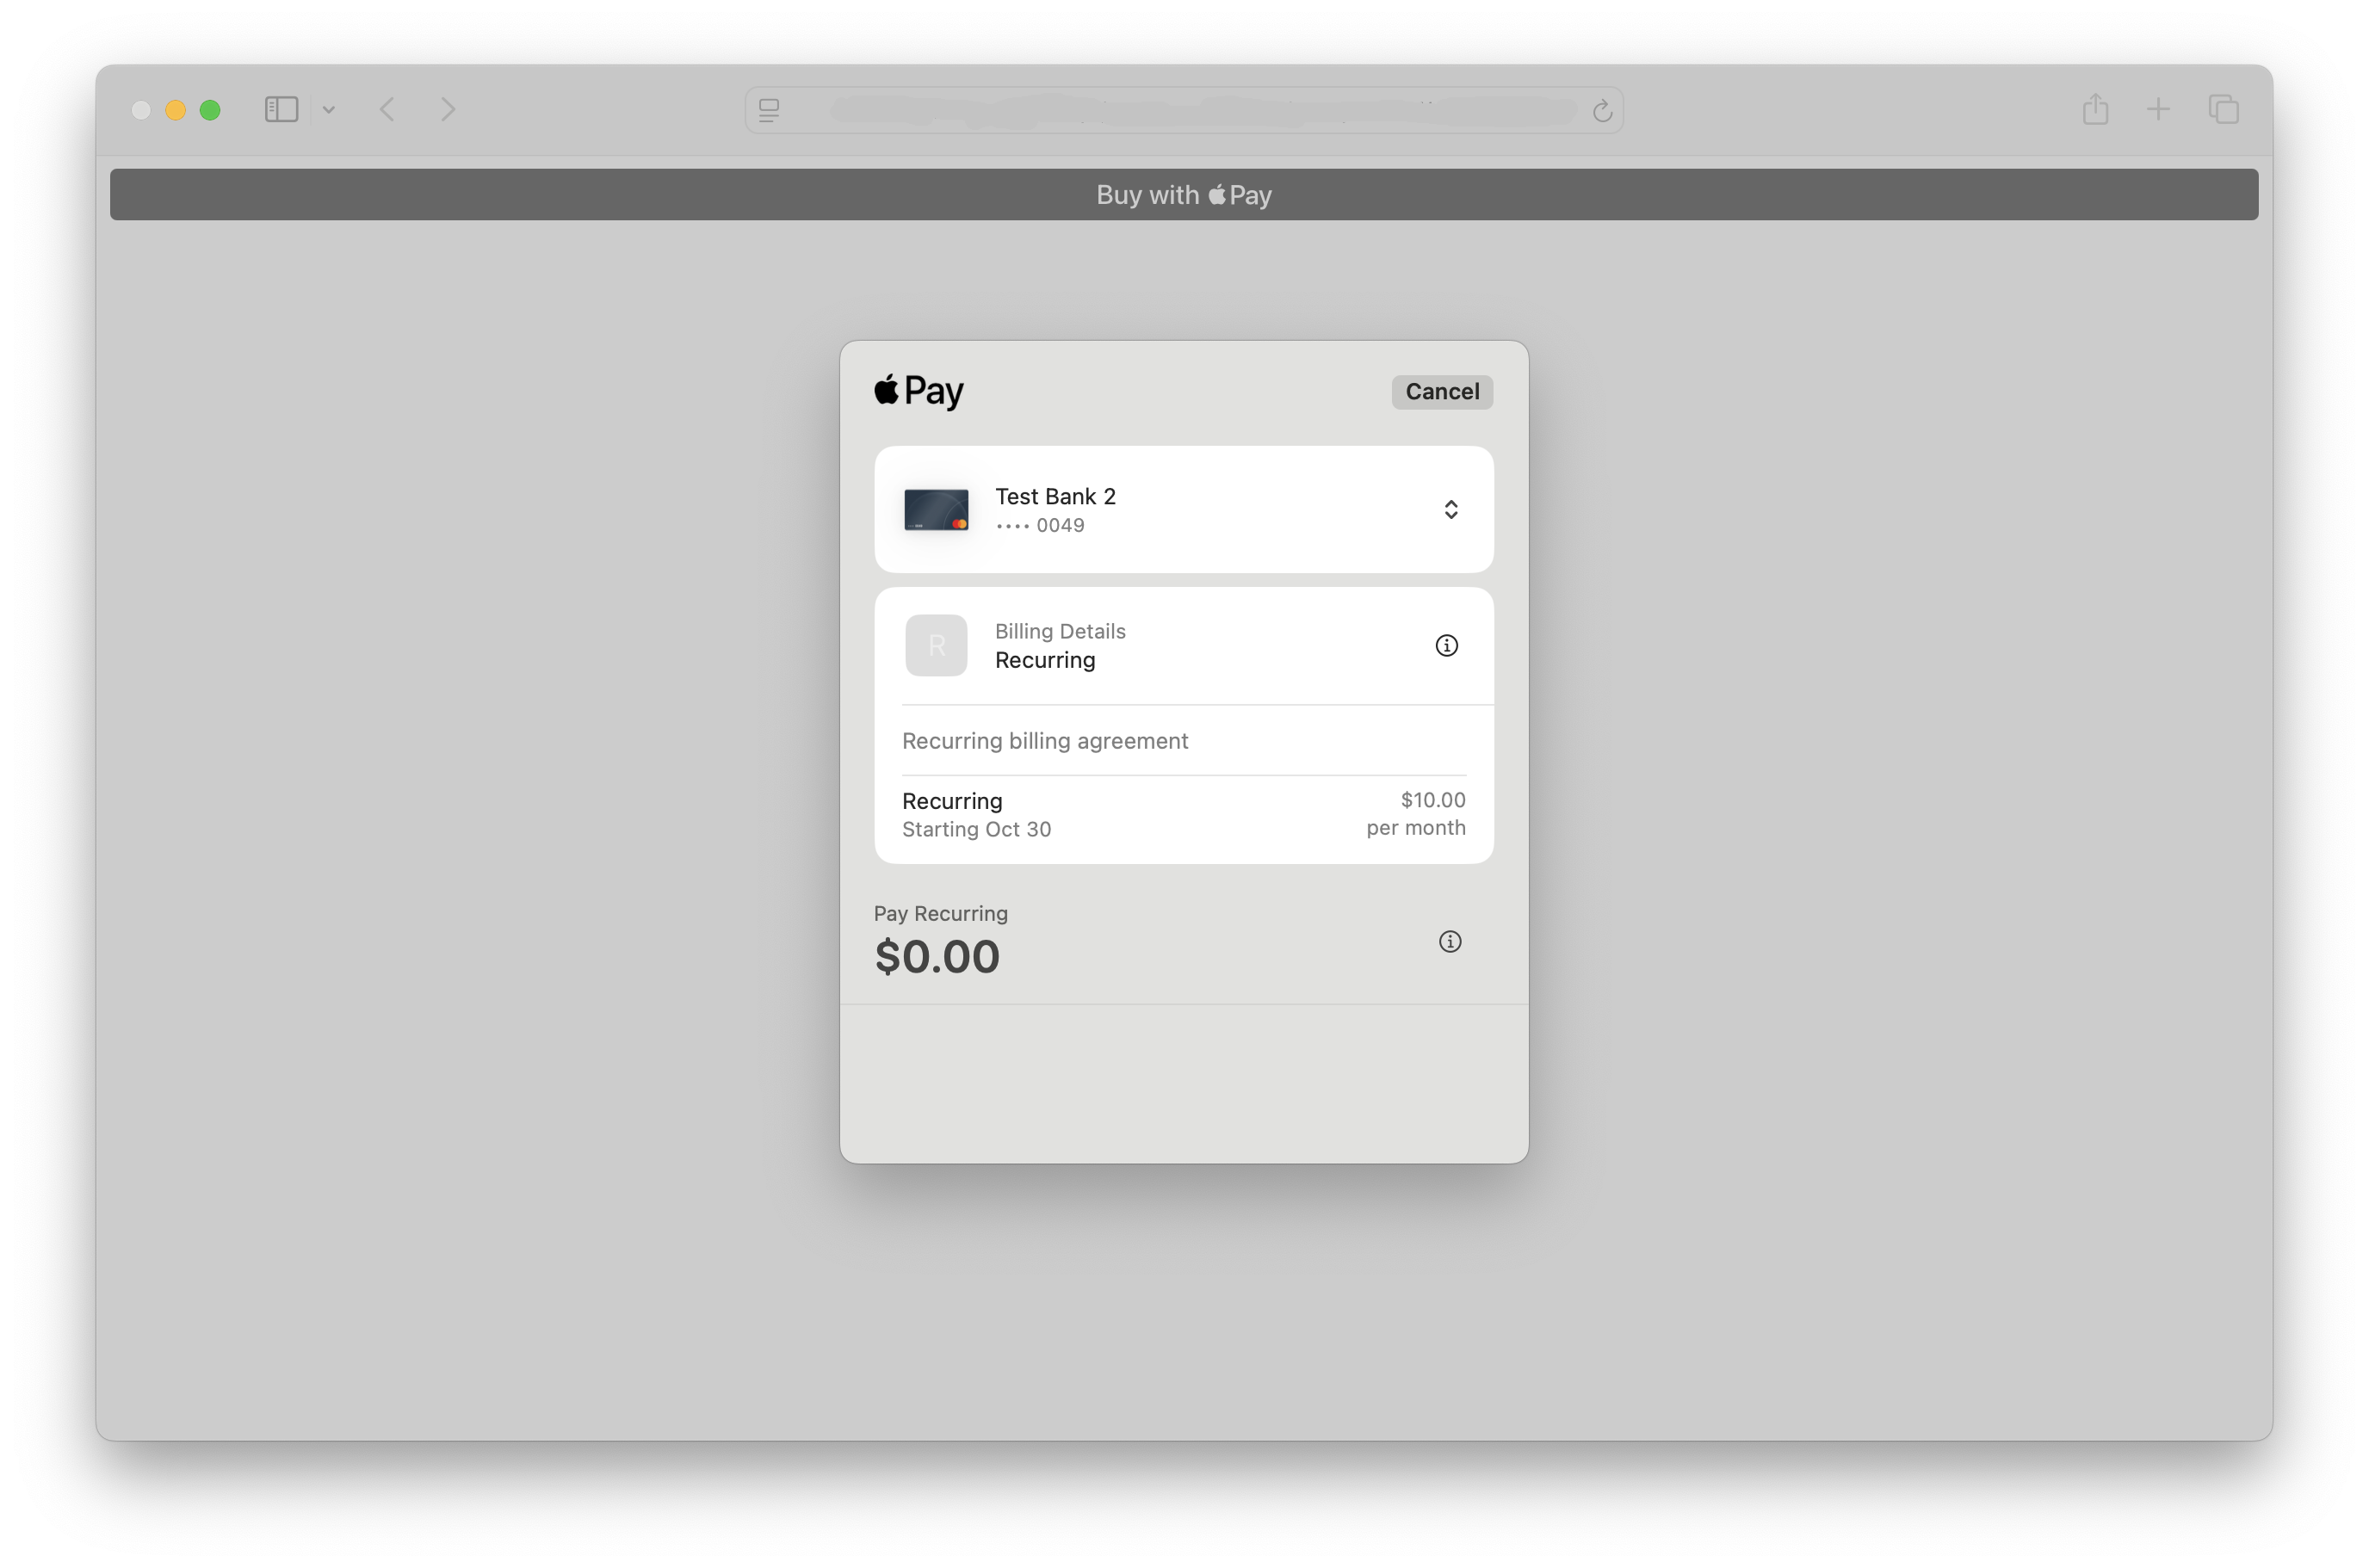
A screenshot of Safari showing an Apple Pay recurring payment sheet, indicating $0.00 up front and $10 per month starting October 30th.
Note: This example is minimal to focus on the Apple Pay requirements. Merchants may need wish to add other fields to support direct card number entry if you also want to accept non-Apple Pay transactions through this form, or additional customer and order details.
Step 2: Perform the initial vault request
When the customer finishes interacting with the Apple Pay payment sheet, the form is automatically submitted to a script on a server you control. In this example, it's called /myProcessingScript.
In addition to any other fields the form contains, /myProcessingScript will receive a field named payment_token. This is used in place of conventional card data when adding a customer's information to the vault. For example, you could perform a request like this using the v5 Customers API:
curl --request POST \
     --url https://sandbox.nmi.com/api/v5/customers \
     --header 'Content-Type: application/json' \
     --header 'Authorization: XXXXXXXXXXXXXXXXXXXXXXXXXX' \
     --data '{
       "payment_details": {
         "payment_token": "00000000-000000-000000-000000000000"
       },
       "cit_mit": {
         "stored_credential_indicator": "stored",
         "initiated_by": "customer"
       },
       "billing_address": {
         "first_name": "John",
         "last_name": "Doe",
         "address1": "123 Main Street",
         "address2": "Apt E",
         "city": "Wichita",
         "state": "KS",
         "zip": "12345",
         "country": "US",
         "phone": "8005551212",
         "email": "[email protected]"
       }
     }'
When this step is performed, we perform a $0 authorization to ensure that the digital wallet data is correctly cued up. You'll get a JSON response including these fields:
{
  "object": "customer",
  "id": "MyVaultId1",
  "transaction_id": "281474976710716",
  "response": "1",
  "response_text": "Customer Added"
}
The response=1 lets you know the request was successful, and you should save the transaction_id alongside the customer id for future usage.
Step 3: Perform a sale using the vault ID
When October 31 rolls around (or any other billing conditions you've discussed with the customer), you can proceed to use the data you placed in the vault to charge them. If you use the customer_vault_id you registered in step 2, it will access the payment info the customer provided through Apple Pay. You should make sure to send stored_credential_indicator, initiated_by, and initial_transaction_id (set to the transaction_id you saw in step 2) to provide the card networks with most accurate details about how this transaction is being managed for the best chance of a successful transaction. For example:
curl --request POST \
     --url https://sandbox.nmi.com/api/v5/payments/sale \
     --header 'Content-Type: application/json' \
     --header 'Authorization: XXXXXXXXXXXXXXXXXXXXXXXXXXX' \
     --data '{
       "amount": 10.00,
       "payment_details": {
         "customer_vault_id": "MyVaultId1"
       },
       "cit_mit": {
         "stored_credential_indicator": "used",
         "initiated_by": "merchant",
         "initial_transaction_id": "281474976710716"
       }
     }'
And you'll get a successful JSON result similar to a non-vault-based sale:
{
  "object": "transaction",
  "id": "28147497671995",
  "type": "sale",
  "amount": "10.00",
  "auth_code": "TAS536",
  "response": "1",
  "response_text": "Approved",
  "status": "approved"
}