
Adding Digital Wallet Data to the Customer Vault
This guide will help you add customers who want to pay using Apple Pay or Google Pay to the Customer Vault. Their payment data is stored securely on the NMI platform, so you can make future payments without a second customer interaction.
1. Prepare To Accept Apple Pay
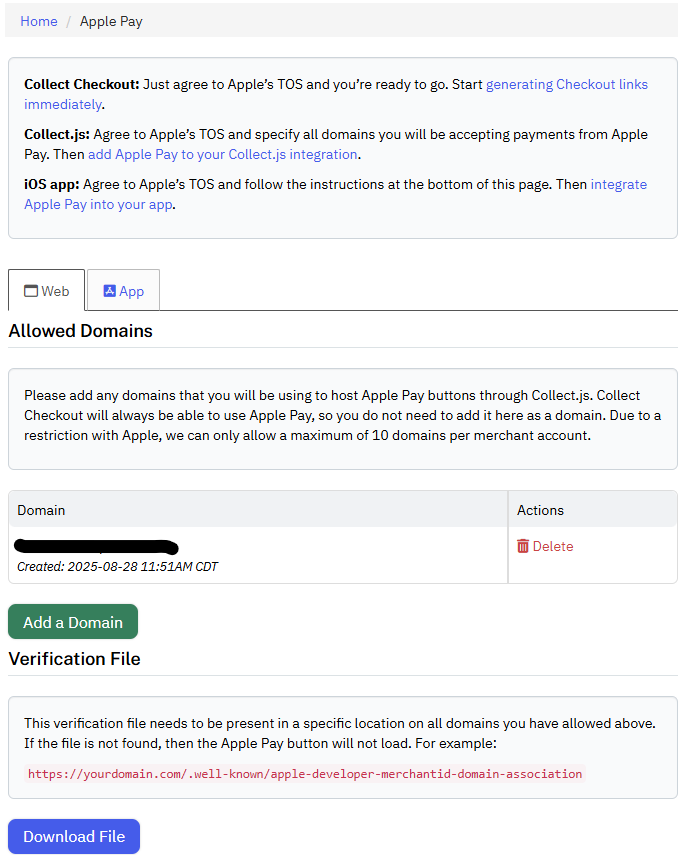
Make sure you're already configured to accept Apple Pay and/or Google Pay. For Apple Pay, be sure that the appropriate domains and verification files are set up in the Merchant Portal under Settings > Apple Pay.
2. Collect Digital Wallet Data
Your shopping cart now needs to collect the Apple Pay/Google Pay data.
If your cart gathers Apple Pay or Google Pay data directly, it should have an appropriate integration to receive the encrypted wallet data during the checkout process.
If you use Collect.js, you can choose to surface a ready-made "Pay with Apple Pay" or "Pay with Google Pay" button. When the customer interaction completes, it will post data to your server including a payment_token linked to the encrypted wallet data. See the Digital Wallet Setup guide for more details and example code.
3. Submit Wallet Data To The Vault
Your server can now submit a request to the Gateway to board the vault data using the v5 Customers API. The exact data you send will vary based on the way you've collected the wallet data.
Sending Collect.js Data
The payment_token pulls the wallet data in automatically.
curl --request POST \
     --url https://sandbox.nmi.com/api/v5/customers \
     --header 'Content-Type: application/json' \
     --header 'Authorization: XXXXXXXXXXXXXXXXXXXXXXXXXXX' \
     --data '{
       "payment_details": {
         "payment_token": "00000000-000000-000000-000000000000"
       },
       "cit_mit": {
         "stored_credential_indicator": "stored",
         "initiated_by": "customer"
       },
       "billing_address": {
         "first_name": "John",
         "last_name": "Doe",
         "address1": "123 Main Street",
         "address2": "Apt E",
         "city": "Wichita",
         "state": "KS",
         "zip": "12345",
         "country": "US",
         "phone": "8005551212",
         "email": "[email protected]"
       }
     }'
Sending Encrypted Wallet Data
(for Google Pay, use googlepay_payment_data instead)
curl --request POST \
     --url https://sandbox.nmi.com/api/v5/customers \
     --header 'Content-Type: application/json' \
     --header 'Authorization: XXXXXXXXXXXXXXXXXXXXXXXXXXX' \
     --data '{
       "payment_details": {
         "applepay_payment_data": "EEvIz56vkjN….zb5MD45fh7687SGfTd="
       },
       "cit_mit": {
         "stored_credential_indicator": "stored",
         "initiated_by": "customer"
       },
       "billing_address": {
         "first_name": "John",
         "last_name": "Doe",
         "address1": "123 Main Street",
         "address2": "Apt E",
         "city": "Wichita",
         "state": "KS",
         "zip": "12345",
         "country": "US",
         "phone": "8005551212",
         "email": "[email protected]"
       }
     }'
Sending Decrypted Wallet Data
(For Google Pay, send decrypted_googlepay_data instead)
curl --request POST \
     --url https://sandbox.nmi.com/api/v5/customers \
     --header 'Content-Type: application/json' \
     --header 'Authorization: XXXXXXXXXXXXXXXXXXXXXXXXXXX' \
     --data '{
       "payment_details": {
         "card_number": "4111111111111111",
         "card_exp": "1234",
         "decrypted_applepay_data": true
       },
       "cardholder_auth": {
         "cavv": "MTIzNDU2Nzg5MDEyMzQ1Njc4OTA="
       },
       "cit_mit": {
         "stored_credential_indicator": "stored",
         "initiated_by": "customer"
       },
       "billing_address": {
         "first_name": "John",
         "last_name": "Doe",
         "address1": "123 Main Street",
         "address2": "Apt E",
         "city": "Wichita",
         "state": "KS",
         "zip": "12345",
         "country": "US",
         "phone": "8005551212",
         "email": "[email protected]"
       }
     }'
4. Real Time Transaction
When the wallet data is vaulted, we perform a transaction in real time. For Google Pay, this defaults to $0 authorization. For Apple Pay, the transaction is based on the amount baked into the Apple Pay wallet data. (If you use Collect.js to build a subscription request, it defaults to $0). This transaction ensures that we consume the perishable "cryptogram" part of the wallet data before it expires, so the next transaction-- which might not take place for months-- will complete smoothly. Performing a transaction in real time also allows us to block the registration immediately if the payment data is bad, rather than waiting for the first actual payment to fail.
You can also choose to perform an "up-front" sale or authorization, instead of a $0 transaction, while registering the adding the data to the vault. Specify the desired type and amount values on the customer creation request. When you use Apple Pay, the Apple Pay payment sheet must show the customer the intended up-front amount. Collect.js lets you specify data-field-apple-pay-vault-up-front-price to set the value there, and then the request summary says that the customer will be billed when their balance is exhausted.
5. Using the Vaulted Payment Information
Save the id (transaction ID) and customer id (customer vault ID) values you get back when you vault the payment data. You can perform any additional "follow-up" transactions once the data is successfully vaulted. In subsequent transactions, you should specify appropriate data to link the transactions back to the initial card storage event:
- Send the
customer_vault_idin thepayment_detailsobject instead of passing raw card information. - Set appropriate
stored_credential_indicatorandinitiated_byvalues in thecit_mitobject. Typicallystored_credential_indicatorshould beused, since we're using account info we already stored, but theinitiated_bycould becustomer(for situations where a customer is directly triggering an order) ormerchant(for subscriptions and top-ups) - Use the saved transaction ID as
initial_transaction_idin thecit_mitobject to make sure the transaction history is connected correctly.
Here's an example of a merchant-initiated transaction using the v5 Payments API:
curl --request POST \
     --url https://sandbox.nmi.com/api/v5/payments/sale \
     --header 'Content-Type: application/json' \
     --header 'Authorization: XXXXXXXXXXXXXXXXXXXXXXXXXXX' \
     --data '{
       "amount": 300.00,
       "payment_details": {
         "customer_vault_id": "123456"
       },
       "cit_mit": {
         "stored_credential_indicator": "used",
         "initiated_by": "merchant",
         "initial_transaction_id": "123456789023"
       }
     }'