
Managing devices & estates
The PGP-DEVICE-MANAGER role grants access to the Device Management page of HEM. This page lets you manage your terminals and estates, building them into a logical structure to make management easier.
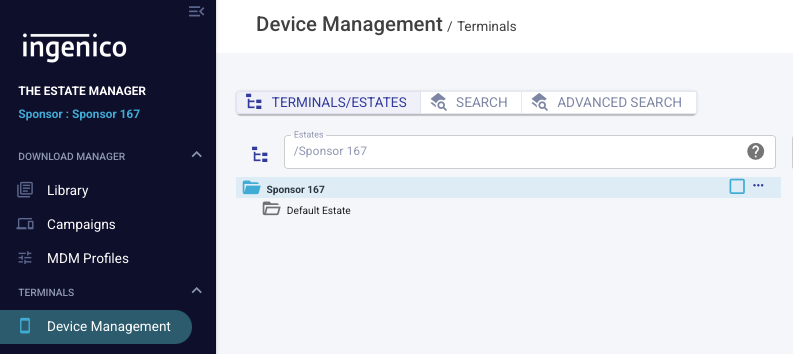
Managing estates
To add a terminal or estate, select the parent estate you want to add it to. This reveals a ⋯ menu to the right of the estate name. Clicking it shows the operations you can perform:
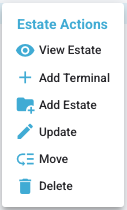
- View Estate — view the details of the selected estate
- Add Terminal — add a new terminal to the estate
- Add Estate — add a new sub-estate
- Update — update the details of the selected estate
- Move — move the selected estate or terminal to a new location
- Delete — delete the selected estate or terminal
Adding estates
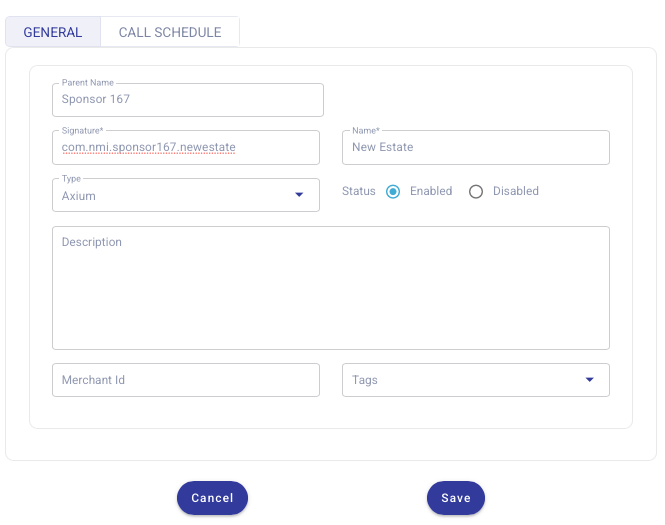
To add an estate, the following information must be provided:
- Estate Name — what you would like the estate to be called.
- Signature — a unique identifier for this estate. NMI recommends using a domain-based identifier (for example
com.nmi.sponsor167.newestate).
All other fields can be filled out as you see fit; NMI places no restrictions on their content. When you are ready, click Save. The new estate appears under the specified parent estate.

Adding a terminal
If you ordered your device through an NMI-approved distributor, you do not need to manually add terminals. New terminals appear in your default estate automatically after their first registration with the NMI platform. Attempting to add a device supplied by an NMI-approved distributor may fail, as it is already registered within the NMI HEM region.
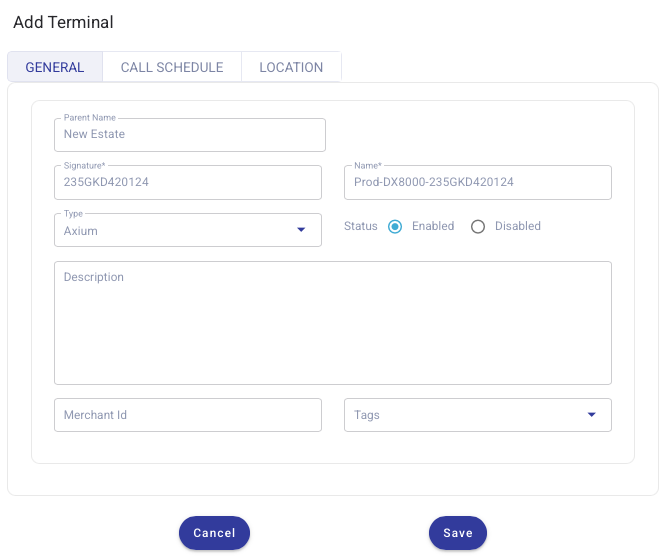
The following is provided for completeness, in case manual terminal creation is required. Adding a terminal is similar to creating an estate. You will be required to provide:
- Terminal Name — the name assigned to the terminal
- Signature — the device's serial number
All other fields can be completed as needed; NMI imposes no restrictions on their content.
Call schedule
The call schedule defines when a device calls home to HEM to check whether updates are required. It can be set against an estate and synced to its terminals, or a terminal can have its own call schedule.
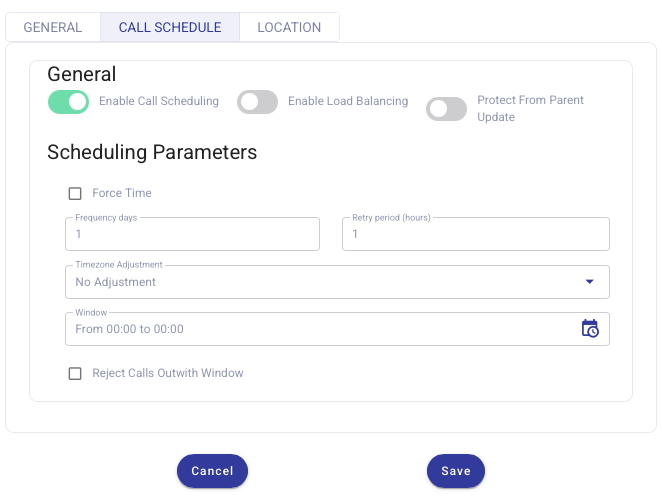
The fields are:
- Enable Call Scheduling — enable or disable call scheduling. A device must call home for call-scheduling updates to take effect.
- Enable Load Balancing — HEM spreads devices across the maintenance window so they don't all call home at once.
- Protect From Parent Update — when enabled, a terminal won't receive call-schedule updates from its parent estates.
- Frequency days — how often the device calls home, in days.
- Retry period — if a HEM call fails, how often a device retries within the call window.
- Timezone Adjustment — adjust the maintenance window to the terminal's local time.
- Window — the maintenance window during which a device calls home.
- Reject Calls Outwith Window — HEM rejects calls that fall outside the maintenance window.
The call schedule is not pushed to the device when saved in HEM — it is only updated on the terminal the next time the device calls home. If call scheduling is disabled on a device, a manual HEM update must be performed to re-enable it.
Setting the call schedule at the estate level applies it to all devices within that estate, as long as those devices don't have their own call schedules applied.